In today’s tech-savvy world, teaching has gone digital significantly! Have you ever wondered how some teachers create amazing video lessons that you can watch repeatedly? The secret sauce is screen recording. So, as a teacher, you should learn the details of screen recording. If you want to learn how to record screen while teaching and make your lessons more engaging, you’re in the right place. This guide will show you easy-to-follow steps and handy tips. So, are you ready to dive in and become a screen recording pro? Let’s get started!
Why Screen Recording is Important for Teachers
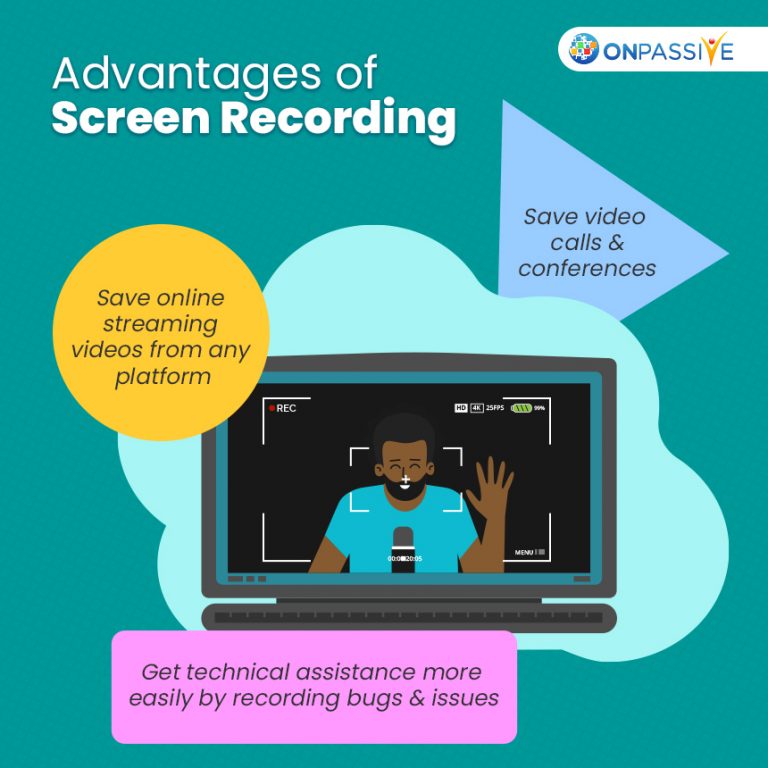
Screen recording in online teaching allows educators to provide clear and concise instructions, demonstrate complex processes, and offer a visual aid that supports learning. When you know how to record screen while teaching, you can create a library of educational resources for students, Students can revisit them and reinforce their understanding and retention of the material. Also, screen recordings can be shared with students who missed a class or need extra help, ensuring that all students have equal access to the information they need.
Essential Steps to Record Your Screen While Teaching
1. Choose the Right Screen Recording Software
The first step in learning how to record screen while teaching is selecting the right software. There are various options available, each with its own set of features. Some popular choices include:
- OBS Studio: It is a free, open-source software offering high-quality recording and streaming capabilities.
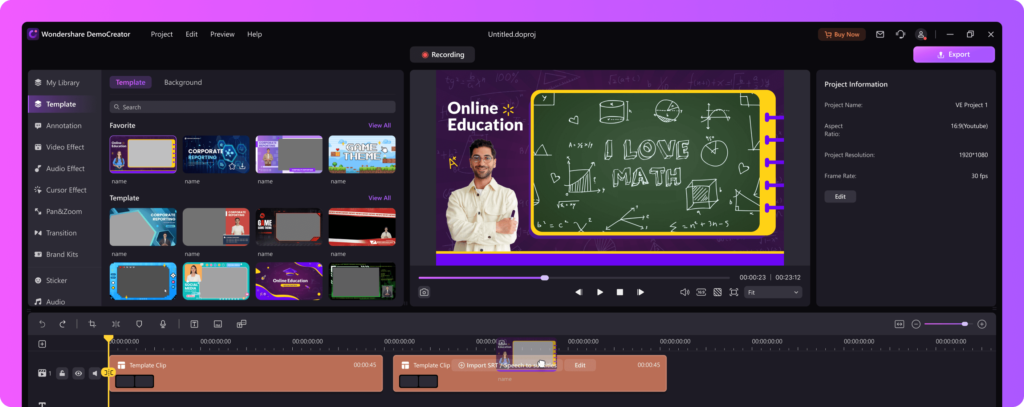
- Camtasia: A user-friendly tool with advanced editing features, perfect for creating polished educational videos.
- Screencast-O-Matic: An affordable option that is easy to use and offers cloud storage for your recordings.
When choosing your software, consider your teaching style’s specific needs and the features that will best support your objectives.

2. Plan Your Content
Before hitting the record button, it’s essential to plan your content. Outline what you intend to cover and the key points you want to emphasize. This will help you stay organized and ensure that your recording is clear and concise. Additionally, preparing your content in advance will make editing smoother and faster.
3. Set Up Your Recording Environment
A quiet and well-lit environment is crucial for producing high-quality screen recordings. Ensure that your workspace is free from background noise and distractions. Also, consider the lighting; natural light is ideal, but if that’s not available, use a good quality artificial light source to avoid shadows and glare.
4. Perform a Test Run
Before recording your full lesson, perform a test run to check the audio and video quality. This allows you to make any necessary adjustments and avoid technical issues during the actual recording. Pay attention to the following during your test run:
- Audio: Ensure that your microphone is capturing clear sound without any background noise.
- Video: Check that the screen resolution is appropriate and that any on-screen text is readable.
- Software Settings: Familiarize yourself with the software’s features, such as pause, stop, and editing options.
5. Record Your Screen
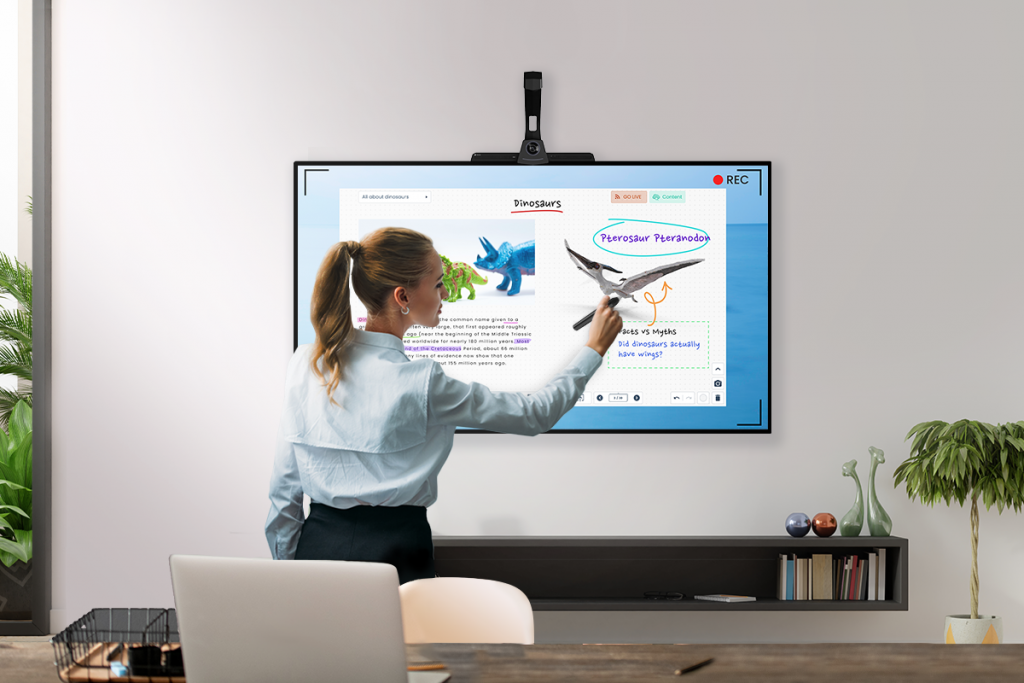
Once everything is set up and you’ve done a test run, it’s time to start recording. Begin by greeting your students and providing an overview of the lesson. As you teach, make sure to speak clearly and at a steady pace. Use visual aids, such as slides or diagrams, to enhance your explanation. Also, remember to pause occasionally to give your students time to absorb the information.
5 Screen Recording Tips for Teachers
Knowing how to record screen while teaching is just the beginning. To create engaging and effective educational videos, consider the following tips:
1. Keep It Simple
While it’s tempting to use all the features your screen recording software offers, simplicity often works best. Focus on delivering your content in a clear and straightforward manner. Too many transitions, effects, or annotations can distract students from the main points.
2. Use Annotations and Highlights
Annotations, such as arrows, text boxes, and highlights, can draw attention to specific parts of your screen. These tools help emphasize important information and make your recordings more interactive. For instance, highlighting key terms during a lesson can aid in vocabulary retention.
3. Break Down Complex Topics
When covering complex topics, break down the information into smaller, manageable segments. This approach makes it easier for students to follow along and understand the material. Also, consider recording multiple shorter videos rather than one long session to maintain student engagement.
4. Engage with Your Audience
Even though your students might not be physically present, it’s important to engage with them during your recording. Ask rhetorical questions, prompt students to think about specific problems, and encourage them to take notes. This interaction helps keep their attention and promotes active learning.
5. Edit and Refine Your Recordings
After recording your lesson, take the time to edit and refine it. Remove unnecessary parts, such as long pauses or mistakes, to keep the video concise. Use editing tools to add titles, captions, and other elements that enhance the overall quality of your video. This polished final product will be more professional and effective for your students.
FAQs on Using a Screen Recorder as a Teacher
1. What software is best for recording my screen while teaching?
There are several great options depending on your needs. OBS Studio is excellent for free, high-quality recordings, Camtasia offers advanced editing features, and Screencast-O-Matic is user-friendly and affordable.
2. How can I ensure my recordings are clear and understandable?
Perform a test run to check audio and video quality, speak clearly and at a steady pace, and use visual aids to support your explanations. Editing your recordings to remove unnecessary parts also helps.
3. Can I record my screen while also recording myself?
Yes, many screen recording software options allow you to record your screen and webcam simultaneously. This adds a personal touch to your lessons and helps students feel more connected.
4. How long should my screen recording lessons be?
It’s best to keep your lessons concise, ideally between 10-20 minutes. If you have a lot of material, consider breaking it down into shorter segments to maintain student engagement.
5. How can I share my screen recordings with my students?
You can upload your recordings to educational platforms like Google Classroom, Blackboard, or even YouTube. Provide links to the videos and ensure they are accessible to all your students.

Conclusion
Learning how to record screen while teaching is an invaluable skill for modern educators. It enhances the learning experience, provides accessible resources, and helps maintain student engagement. By following the steps and tips outlined in this article, you can create high-quality screen recordings that benefit both you and your students.
If you’re interested in further improving your teaching techniques and mastering the art of screen recording, consider taking professional development courses. These courses can provide deeper insights and advanced skills that will make you a more effective and tech-savvy educator. Embrace the power of technology in education and elevate your teaching to the next level!

Comments 0